A practical guide to contract manufacturing process, from DFM and tooling to pilot runs, quality control, assembly, and production scaling.

A
delayed tool approval can push a launch by weeks. A poorly defined tolerance
can turn a good-looking prototype into a failed production run. That is why any
serious guide to contract manufacturing process starts before the first machine
runs. The process is not just about finding a factory to make parts. It is
about building a controlled path from concept to repeatable output, with the
right checks at each stage.
For product teams, OEM brands,
and procurement managers, contract manufacturing works best when it is treated
as an engineering and operations system. Cost matters, but so do
manufacturability, sourcing stability, quality planning, and communication
speed. The better those pieces are aligned early, the fewer surprises appear
when volumes increase.
What the contract manufacturing
process actually includes
Contract manufacturing covers more than part
fabrication. In most programs, it includes design review, prototype
development, process selection, tooling, sample validation, pilot builds, mass
production, assembly, packaging, and outgoing quality control. In some cases it
also includes component sourcing, fixture development, and drawing support.
The exact path depends on the
product. A CNC-machined aluminum housing follows a different route than a
silicone keypad, an injection molded enclosure, or a finished OEM assembly with
purchased electronics inside. Even so, the decision logic is similar. First,
confirm what must be built. Then confirm how it should be built. Then confirm
whether that method can hold cost, tolerance, finish, and delivery targets at
the planned volume.
That sounds straightforward,
but trade-offs show up quickly. A process that is ideal for prototyping may be
too slow or too expensive for production. A cosmetic finish that looks good on
an early sample may increase scrap risk in volume. A low-cost supplier base for
components may create lead-time problems later. A practical manufacturing
partner addresses those issues before they turn into schedule or quality
failures.
Guide to contract manufacturing
process: from RFQ to production
The first stage is requirement definition. This is
where many downstream problems begin or get prevented. The manufacturer needs
complete information on part function, material expectations, dimensions,
cosmetic standards, target volume, assembly requirements, packaging needs, and
testing criteria. A 3D file alone is rarely enough. If the product has
critical-to-function dimensions, sealing surfaces, threaded areas, or cosmetic
Class A surfaces, those should be clearly called out.
The next stage is quotation
and feasibility review. At this point, the manufacturer evaluates process fit.
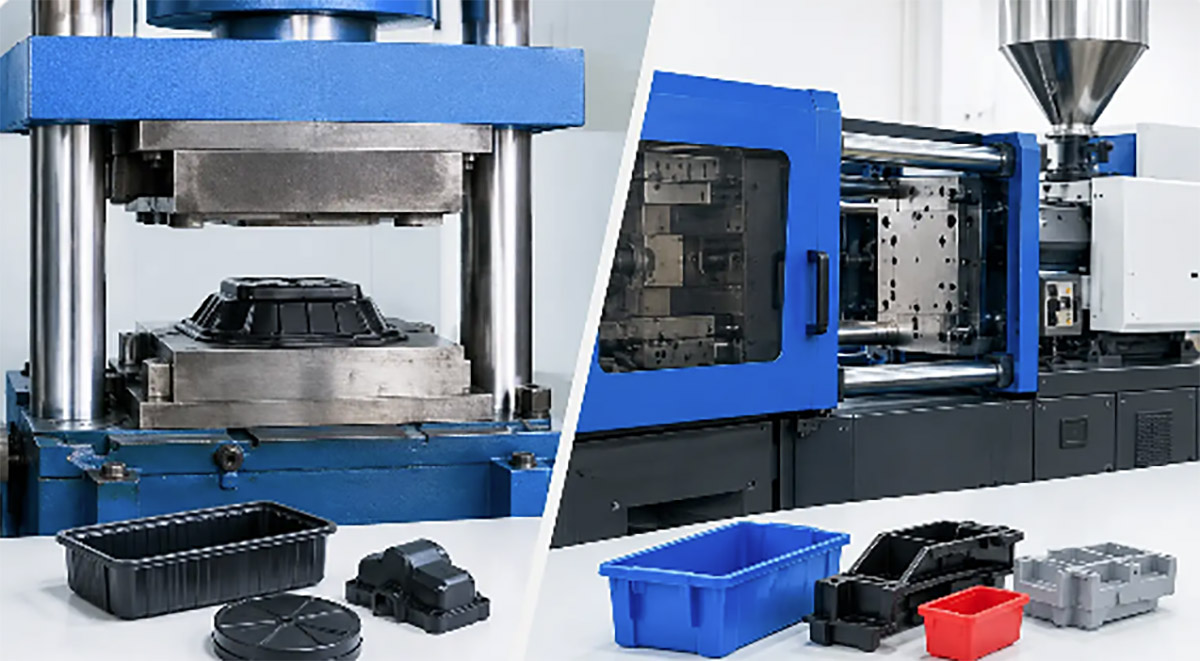
That may mean CNC machining for functional prototypes, SLA or SLS for shape
verification, injection molding for plastic production parts, die casting for
metal housings, or stamping for sheet metal components. The quote should
reflect not only unit price, but also tooling cost, setup assumptions, lead
time, material grade, finish, inspection method, and any known production
constraints.
After quote alignment
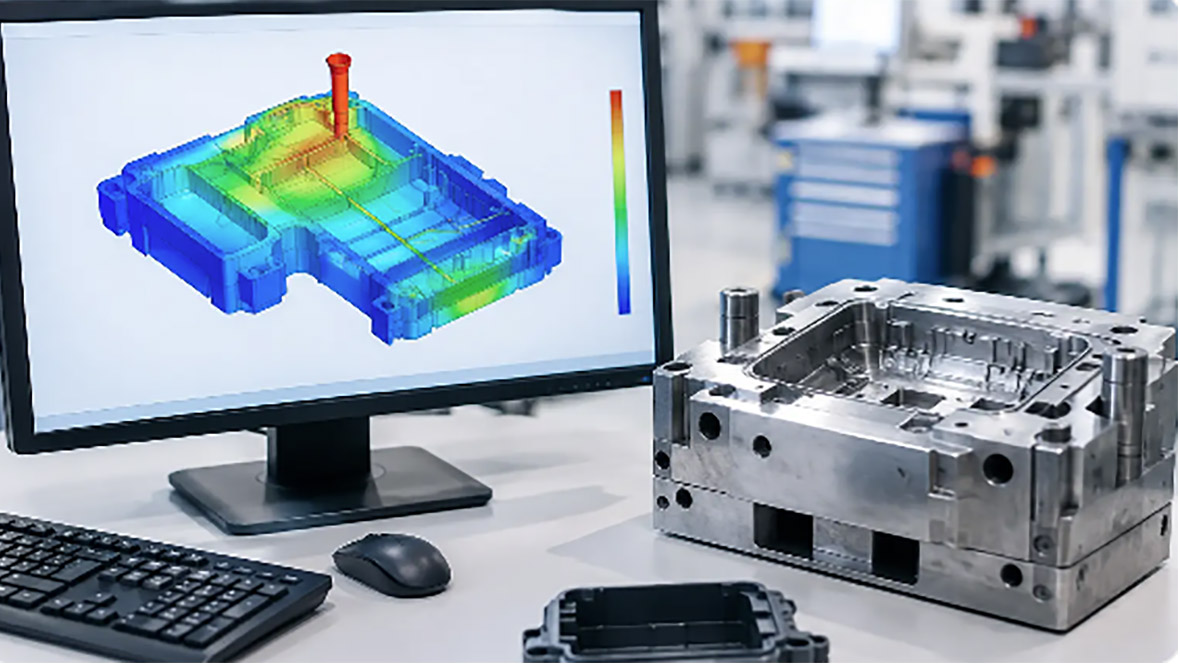
comes DFM review. This is one of the
highest-value stages in the entire contract manufacturing process. DFM, and
sometimes DFA for assembled products, identifies changes that improve
manufacturability without compromising function. Wall thickness, draft angle,
undercuts, gate locations, split lines, ejection strategy, machining access,
tolerance stack-up, and assembly sequence all matter here. A product can be
technically buildable and still be commercially inefficient. DFM closes that
gap.
Once the design is stable
enough, prototyping begins. Prototype methods depend on the goal. If the team
needs visual models, resin printing may be enough. If they need testable metal
parts with accurate dimensions, CNC machining is often the better
route. If they need to simulate final molded geometry before cutting steel,
soft tooling or bridge tooling may be justified. The mistake is assuming all
prototypes serve the same purpose. Some are for appearance, some for fit, some
for function, and some for process validation.
Tooling, samples, and pilot
production
For molded, cast, or stamped
parts, tooling is the next major gate. Tool design should
reflect expected volume, material behavior, tolerance requirements, and
maintenance assumptions. A low-volume project may accept simpler tooling. A
long-running production program usually needs more durable mold steel, tighter
process control, and better cooling or cycle optimization.
Tooling approval should never
be treated as a formality. Tool design reviews need attention on shrinkage,
venting, gate balance, flash risk, warpage risk, insert location, and expected
cycle time. If cosmetic surfaces are involved, texture and polishing standards
also need to be defined early. Changing those details after steel is cut
increases both cost and lead time.
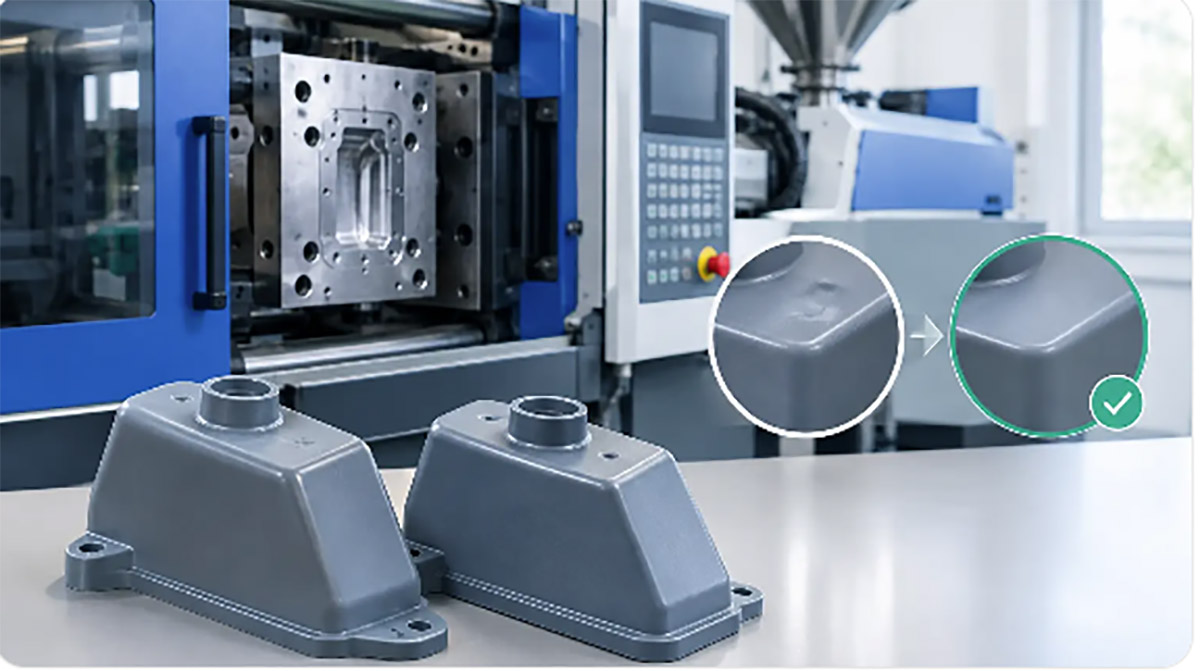
The first articles or T1
samples are where theory meets real output. This stage confirms whether the
process can produce the part as designed. Some issues are expected. A molded
part may show sink, a die cast part may need trimming adjustment, or an
assembled unit may reveal tolerance stack issues between sourced components.
The key is whether the manufacturer has a structured correction process.
Dimensional reports, appearance review, and corrective action feedback should
be part of the sample loop.
Before full production, many
programs benefit from a pilot run. This is especially useful for products
involving multiple custom parts, sourced components, and assembly steps. Pilot
production tests more than the part itself. It tests work instructions, fixture
effectiveness, packaging fit, cycle times, operator flow, and defect escape
risk. A project that looks stable at sample level can still fail at pilot stage
if assembly variability or supply inconsistency has not been addressed.
Quality control is not a final step
A common purchasing mistake is treating quality
control as something that happens after production. In practice, quality
planning starts at the beginning. Inspection standards, approved samples,
control plans, and traceability methods should be defined before the first
production order is released.
Incoming inspection matters
when the product includes purchased components. In-process inspection matters
when dimensions drift, cosmetic handling affects yield, or assembly errors can
compound downstream. Final inspection matters, but it should not be the first
time defects are discovered. For higher-risk parts, fixture checks, gauge
plans, and process capability monitoring may be necessary.
The right level of control
depends on the product. A simple non-cosmetic bracket does not require the same
inspection intensity as a consumer-facing enclosure with tight assembly fit and
visible surfaces. More inspection improves detection, but it also adds cost and
time. The goal is not maximum inspection. The goal is the right inspection for
the actual risk profile.
Sourcing, assembly, and packaging
coordination
Many outsourced builds become harder to manage when
custom parts are split across too many suppliers. One shop handles machining,
another handles molding, another sources inserts, and a fourth assembles final
units. That model can work, but communication failures between suppliers often
create delays and quality disputes.
An integrated contract
manufacturing model reduces that friction. When prototyping, tooling, production,
component sourcing, assembly, and packaging are coordinated under one
operational framework, responsibility is clearer and changes move faster. This
is especially useful for OEM products that combine plastic, silicone, metal,
and purchased hardware in one build.
Assembly planning deserves its
own attention. Tolerance interaction, fastening methods, adhesive curing,
fixture design, labeling, and packaging protection all affect final yield.
Packaging is not just a shipping detail. It affects damage rates, presentation
quality, barcode compliance, and warehouse efficiency.
Choosing the right manufacturing
partner
A strong supplier is not just the one with the lowest
quote. It is the one that can explain process limits clearly, identify risks
early, and support changes without losing control of quality or lead time. For
most buyers, the real question is not Can this supplier make the part. It is
Can this supplier make the part repeatedly, at the required quality level, with
communication that supports production planning.
That is where process breadth
becomes useful. A partner that supports rapid prototyping, CNC machining, SLA
and SLS prototypes, tooling, injection molding, die casting, stamping,
assembly, and packaging can often shorten the handoff chain between development
and production. Xiamen Creator Technology operates in that model, which is
often valuable for products that need both prototype agility and production
follow-through.
When evaluating a
manufacturer, look at how they handle DFM feedback, sample revisions,
inspection documentation, production scheduling, and supply coordination. Ask
how they manage low-volume pilot runs versus higher-volume scaling. Ask what
assumptions are built into the quote. Those details tell you more than
marketing language.
The contract manufacturing
process works best when it is treated as a staged validation system, not a
purchasing transaction. If each phase is clear, the product has a better chance
of reaching volume with fewer corrections, less scrap, and fewer schedule
surprises. That saves more than money. It protects launch timing, customer
confidence, and internal engineering bandwidth.