Understand the silicone compression molding process, including tooling, material selection, curing controls, inspection, and planning for stable production

A
silicone part can look simple on a drawing and still become difficult to
manufacture consistently. A gasket that flashes at the parting line, a keypad
with uneven hardness, or a seal that distorts after cure can create assembly
problems long after tooling is released. The silicone compression molding process
remains a practical production method for these applications because it handles
elastomer materials well, supports relatively economical tooling, and can
produce dependable parts when material, mold design, and process controls are
aligned.
For product teams, the
question is not simply whether compression molding can make the part. The
better question is whether it can meet the required tolerances, appearance
standard, material performance, and annual volume without adding unnecessary
secondary operations or production risk.
How the Silicone Compression
Molding Process Works
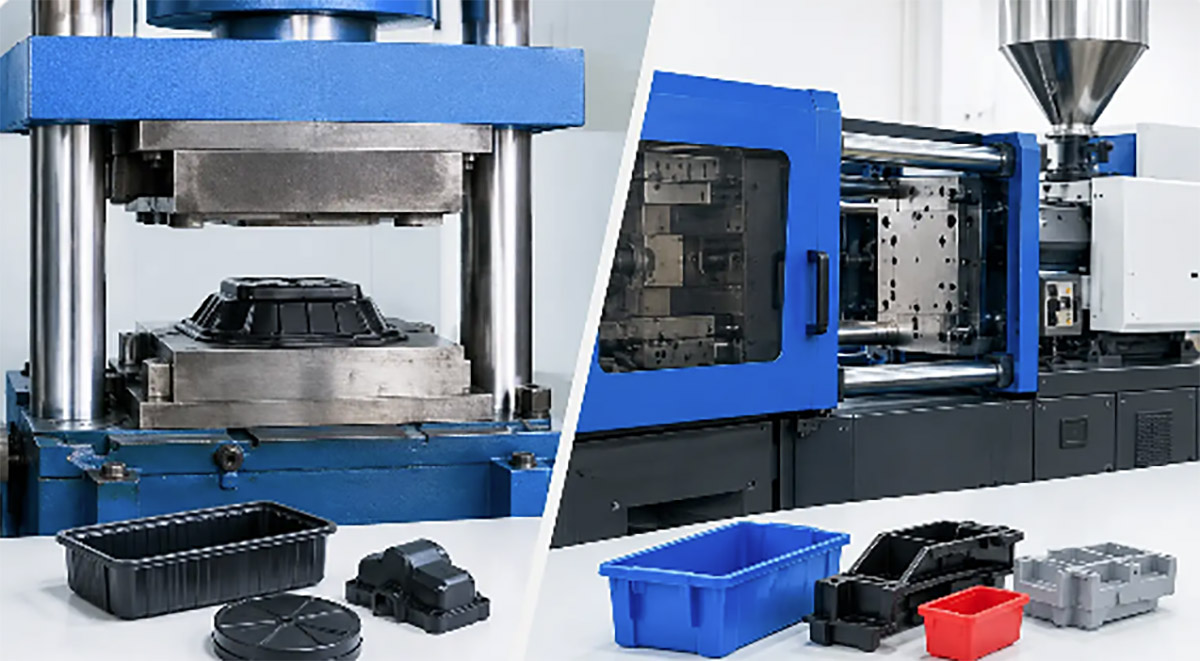
Compression molding forms silicone by placing a
measured charge of uncured material into a heated mold cavity. The mold closes
under pressure, forcing the silicone to flow and fill the cavity. Heat and time
then cure the material into its final elastic form. After the mold opens, the
operator or automated system removes the part, trims flash as needed, and sends
it through inspection or post-curing.
Liquid silicone rubber and
solid silicone rubber do not use identical manufacturing methods. Liquid
silicone rubber is commonly processed by injection molding, where metered A and
B components are mixed and injected into a closed heated mold. Compression
molding is more often used for high-consistency rubber, also called HCR or gum
silicone, supplied as sheets, strips, or preformed charges. It can also be
suitable for certain specialty silicone compounds where the material behavior
or part geometry favors a compression process.
The basic sequence is
straightforward, but each stage affects repeatability:
·
The silicone compound is selected for hardness, color, temperature
resistance, compression set, regulatory requirements, and intended environment.
·
A charge is cut or weighed to provide enough material to fill the cavity
while controlling excess flash.
·
The mold is heated to the specified cure temperature and closed at a
controlled pressure.
·
After the cure cycle, the part is demolded, deflashed, inspected, and
post-cured when required by the material specification.
Cycle time depends on part
thickness, compound chemistry, mold temperature, cavity count, and the required
cure state. A thin gasket may cure quickly, while a thicker sealing component
may need a longer cycle to avoid under-cure in the core.
Tooling Determines More Than Part
Shape
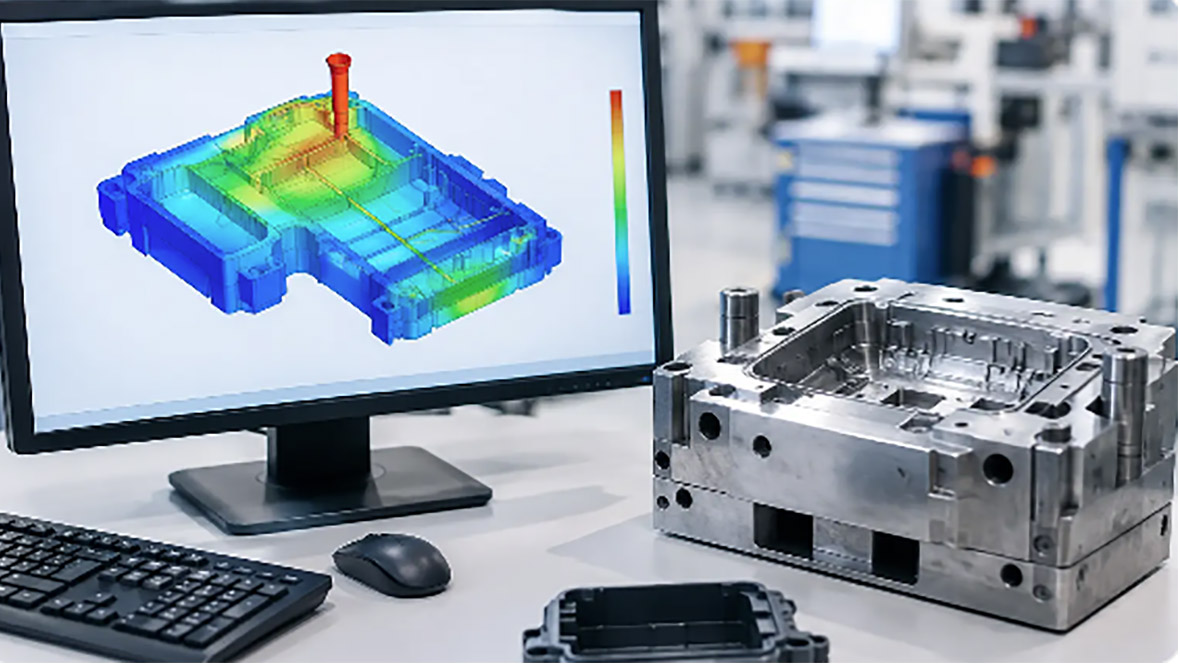
A compression mold is not just a negative of the
finished part. It is a process-control tool. The mold must guide material flow,
allow trapped air to escape, manage flash, withstand repeated heating cycles,
and release a flexible part without tearing or distortion.
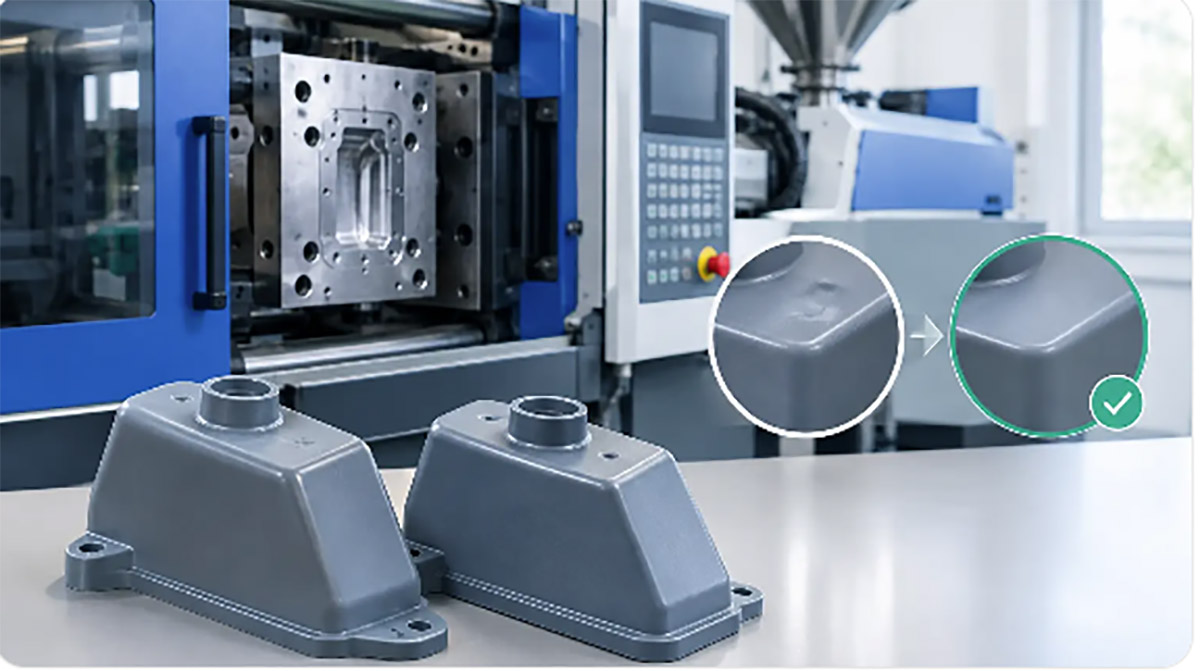
Parting-line placement
deserves early attention. Silicone naturally creates some flash where mold
halves meet, but the acceptable amount depends on the application. For a hidden
industrial seal, a small trimmed witness may be acceptable. For a
consumer-facing wearable component or a sealing surface, flash control and
trimming access need to be considered during design rather than after sampling.
Venting is equally important.
Air trapped in a cavity can create short shots, surface voids, burn marks, or
incomplete fine details. Small vent channels allow air to escape as silicone
fills the cavity. They must be designed carefully: vents that are too
restricted can trap air, while vents that are too open can allow excessive
material bleed and increase cleanup work.
Tooling also needs to account
for silicone shrinkage. Actual shrinkage varies by compound, curing conditions,
part thickness, and geometry. A mold built only from nominal CAD dimensions can
produce parts that miss critical fit requirements. Production
tooling should
be designed using the chosen material supplier's data as a starting point, then
refined through trial results and measurement of first articles.
For low-volume programs,
single-cavity or simple multi-cavity tooling may provide the best balance of
cost and control. Higher-volume production can justify more cavities, automated
loading, or dedicated trimming fixtures. More cavities improve output, but they
also raise tooling cost and make material loading consistency more critical.
Material Selection Starts With the
Application
Silicone is selected because it remains flexible
across a wide temperature range, resists moisture and weathering, and can meet
requirements that standard thermoplastics cannot. But “silicone” is not one
material specification. Compound selection should be tied directly to
functional requirements.
Hardness, measured on the
Shore A scale for many silicone parts, affects sealing force, tactile feel,
tear resistance, and ease of assembly. A soft 30 Shore A component may conform
well to an uneven mating surface but can be more difficult to handle. A 70
Shore A part may resist deformation better but require higher assembly force
and may not seal as effectively against variation in the mating component.
Color, translucency, flame
resistance, electrical properties, food-contact requirements, medical-grade
requirements, and low-volatile performance can all change the compound choice.
These requirements can also affect cure behavior and cost. If the part will be
bonded, overmolded, printed, or exposed to oils and cleaning agents, those
downstream conditions should be confirmed before material approval.
Post-curing is another
decision point. Some silicone compounds require an additional oven cycle after
molding to drive off residual volatiles and stabilize final properties. This
can be essential for odor-sensitive products, regulated applications, or components
with strict outgassing requirements. It also adds lead time, energy use,
handling, and inspection steps, so it should be included in the production plan
from the beginning.
Design for Compression Molding
Before Tool Release
Good design for manufacturability reduces changes
after the first trial. Uniform wall thickness is a useful target because thick
and thin sections cure and cool differently. Large transitions in thickness can
contribute to uneven shrinkage, distortion, or incomplete curing in heavy sections.
Draft angles help release the
part, although the exact amount depends on texture, depth, compound hardness,
and mold finish. Deep ribs, sharp internal corners, and undercuts require
special review. Silicone is flexible, so some features can be stripped from the
mold, but relying on stretch for every release can damage the part, slow the
cycle, or shorten mold life.
Tolerances should reflect the
function of the component and the reality of elastomer manufacturing. Silicone
parts can be held to controlled dimensions, particularly at critical
interfaces, but they are not rigid machined components. Calling out tight
tolerances across every nonfunctional surface increases inspection burden
without necessarily improving product performance. It is more effective to
identify the dimensions that control sealing, assembly location, compression,
or visual fit.
A prototype stage is valuable
when geometry, feel, or mating performance is still uncertain. Depending on the
program, soft tooling, CNC-machined fixtures, SLA prototypes, or early
compression samples can help validate the design before committing to
multi-cavity production tooling. A coordinated supplier can also review related
plastic, metal, and assembly components so the silicone part is not optimized
in isolation.
Process Controls That Protect Part
Quality
Stable production depends on controlling more than
mold temperature. Charge weight, preform placement, mold pressure, cure time,
material batch traceability, and operator handling all influence the finished
part. For parts with a visual surface, contamination control matters as well.
Dust, fibers, mold-release residue, and inconsistent pigment dispersion can
become immediate quality issues.
First-article
inspection should verify critical dimensions, hardness, appearance, flash
condition, and fit with mating components. For sealing applications, functional
testing may include leak checks, compression testing, or repeated assembly
cycles. Where applicable, a documented control plan defines sampling frequency,
acceptance criteria, and actions when variation is found.
Deflashing should not be
treated as an afterthought. Manual trimming may be suitable for low volumes or
complex shapes, while cryogenic deflashing, die trimming, or dedicated fixtures
can improve consistency at larger volumes. The right method depends on flash
location, part fragility, cosmetic expectations, and production quantity. An
aggressive trimming process can damage thin edges; a slow manual process can
become the major cost driver for an otherwise inexpensive molded part.
When Compression Molding Is the
Right Choice
Compression molding is often a
strong fit for silicone
gaskets, seals, protective covers, keypads, feet, grips, and custom elastomer components
produced in low to medium volumes. It is particularly useful when tooling
investment must be controlled, part geometry is compatible with open-mold loading,
or the chosen silicone compound is better suited to HCR processing.
It is not automatically the
best option for every silicone program. Liquid silicone injection molding may
be more efficient for very high volumes, highly automated production, very small
precision features, or parts that benefit from repeatable metering and short
cycle times. However, it typically requires different tooling, equipment, and
material systems. The decision should be based on annual demand, geometry,
tolerance requirements, material specification, and total delivered cost rather
than unit price alone.
For a new product, the most
productive next step is to review the silicone part alongside its mating
components, expected volume, compliance requirements, and downstream assembly
method. That review identifies whether compression molding provides the right
mix of tooling cost, manufacturability, and production control before design
decisions become expensive to reverse.