Prototype tooling vs production tooling affects cost, lead time, part quality, and scale. Choose the right route before committing to your mold tool.

A
part that looks correct in a prototype run can still become expensive,
inconsistent, or difficult to assemble at volume. That is why prototype tooling
vs production tooling is not simply a question of tool price. It is a decision
about what must be proven now, what risks can wait, and when the product is
ready to support a long-term manufacturing investment.
For product teams, the wrong
tooling choice usually creates one of two problems: spending too much before
the design is stable, or trying to force a short-life tool to deliver
production-level output. A practical tooling strategy aligns the tool material,
mold construction, cavity count, process controls, and expected volume with the
current stage of the product.
Prototype Tooling vs Production
Tooling: The Core Difference
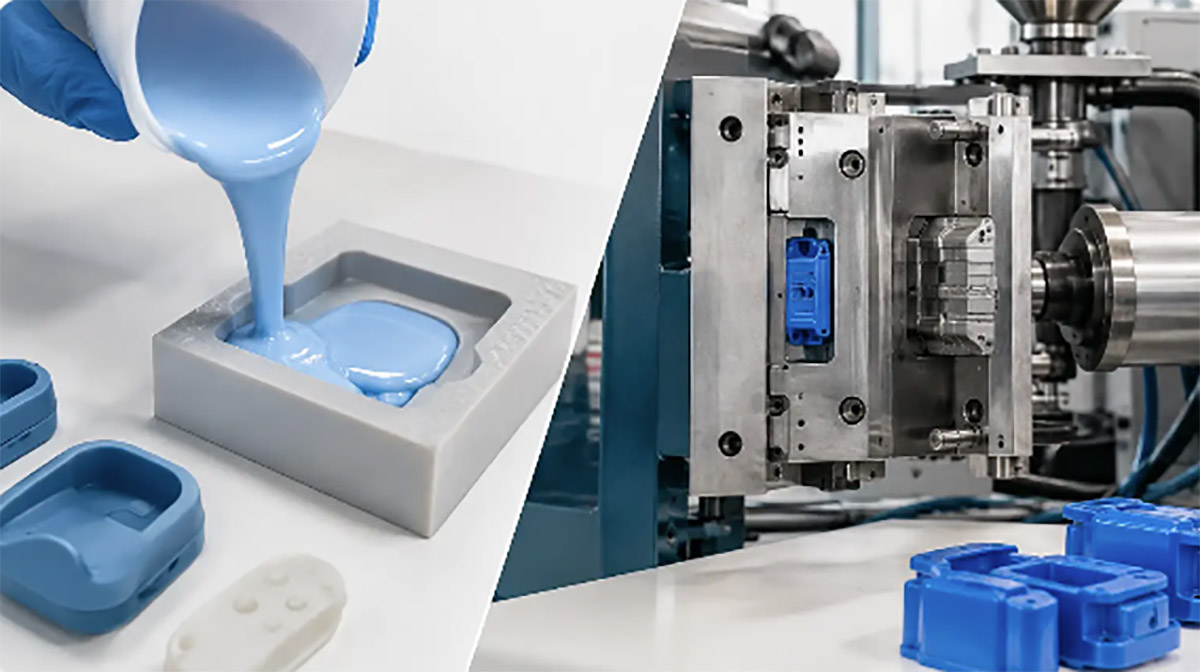
Prototype tooling is built to
make representative parts quickly and economically while the design is still
being evaluated. It may be used for early functional tests, investor samples,
design verification, market trials, engineering builds, or low-volume pilot
units. Depending on geometry, material, and quantity, prototype parts may be
made by CNC
machining, SLA
or SLS printing, silicone molding, urethane casting, soft tooling, or
low-cavity injection molds.
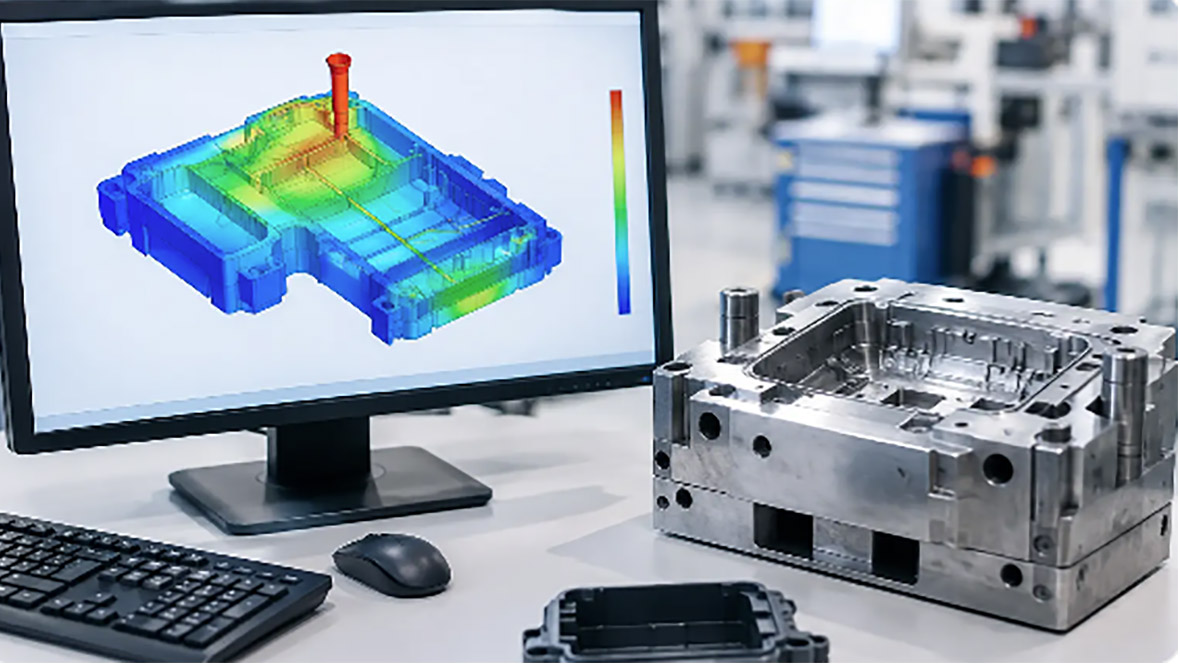
Production tooling is
engineered for repeatable manufacturing over a much larger number of cycles. It
is intended to maintain dimensions, surface finish, cycle time, and part
consistency through sustained output. Production molds commonly use hardened or
pre-hardened steel, more durable mold components, defined cooling systems, and
automation-ready features where the production plan requires them.
The distinction matters
because each tool is optimized for a different commercial objective. Prototype
tooling prioritizes speed, lower initial cost, and design flexibility.
Production tooling prioritizes tool life, stable process capability, output
capacity, and cost per part over time.
What Prototype Tooling Is Designed
to Prove
A prototype tool should answer specific questions.
Does the part fit with mating components? Does the selected resin provide the
needed stiffness, impact resistance, appearance, or heat performance? Can the
product be assembled without excessive force or rework? Are there cosmetic
defects, sink marks, warpage, or weak areas that the CAD model did not reveal?
For injection-molded
components, an aluminum or soft-steel prototype mold can often produce parts in
the intended production resin. This gives a more useful result than a printed
substitute when material behavior, snap fits, living hinges, sealing surfaces,
or assembly tolerances must be validated. It also gives the manufacturing team
an early view of gate placement, flow behavior, ejection, and shrinkage.
However, a prototype mold is
not automatically a low-cost production mold. Simplified cooling, limited
cavities, lower wear resistance, manual inserts, and reduced automation can
make sense for a few hundred or several thousand parts. Those same
characteristics can become a constraint if demand rises quickly.
Prototype tooling works best
when the team expects changes. A housing may need revised boss geometry after
screw testing. A silicone keypad may need adjusted shore hardness or wall
thickness. A die-cast part may need changes to draft, ribs, or machining
allowances. Making these corrections before committing to high-volume tooling
protects both schedule and capital.
What Production Tooling Must
Deliver
Production tooling is a manufacturing asset, not just
a means of making samples. Its design must support the expected annual volume,
required cycle time, quality specifications, resin or alloy characteristics,
maintenance plan, and inspection requirements.
For a plastic injection mold,
this can involve hardened mold steel, multiple cavities, optimized cooling
channels, interchangeable inserts, wear-resistant shutoffs, hot runner systems,
automated part removal, and process monitoring. Not every production mold needs
every feature. A low-volume OEM program may use a single-cavity steel mold with
a conventional cold runner, while a high-demand consumer product may require a
multicavity tool designed around automation and short cycles.
The goal is predictable
output. A production tool should hold critical dimensions across lots, control
cosmetic variation, minimize scrap, and remain serviceable after repeated
cycles. The up-front cost is higher because the tooling must account for
durability and process stability rather than only initial part appearance.
This is also where tool design
and part design become inseparable. Wall thickness transitions, draft angles,
undercuts, gate locations, weld lines, texture, tolerances, and ejection
surfaces affect both the mold cost and the production result. A DFM
review before
cutting steel is usually less costly than correcting a mold after first samples
reveal preventable issues.
Cost: Compare Total Program Cost,
Not Tool Price
Prototype tooling generally has the lower initial
cost, but that does not make it the lowest-cost route for every project. The
useful comparison is total program cost at the planned volume.
A simple prototype mold may
cost less to build, yet produce parts more slowly and with higher unit cost. If
the project needs 50,000 units, a multicavity production mold can recover its
higher initial investment through faster cycle times, lower labor content, less
scrap, and better material utilization. Conversely, a production-grade mold is
difficult to justify if the design may change after the first 500 units.
The same principle applies
beyond injection molding. Prototype fixtures can support manual assembly and
early test builds. Production fixtures may add poka-yoke features,
repeatable locating surfaces, torque control, and inspection references. The
production fixture costs more, but it reduces assembly variation when hundreds
or thousands of units are being built.
When comparing quotes, teams
should separate tooling cost from part cost, expected tool life, cavity count,
sampling cost, modification allowances, and maintenance requirements. A low
tool quote can hide a high piece price or omit the features needed for stable
production.
Lead Time and Design Change Risk
Prototype tools are usually faster to manufacture
because they use simpler construction and fewer production features. They are a
practical way to put physical parts into testing while the product development
schedule is still moving.
Production tools require more
planning and verification. Steel selection, machining, EDM work, polishing or
texturing, heat treatment, fitting, sampling, and mold trials all take time.
That time is justified when the product requirements are stable, but it can
become costly if the design is still changing weekly.
A staged approach often
reduces risk. Teams can first use CNC or additive prototypes to verify form and
basic function. They can then use prototype injection tooling or bridge tooling
to validate the final material and assembly process. After design verification
and demand forecasting, they can release production tooling with clearer
specifications.
Bridge tooling deserves
particular attention. It sits between a quick prototype solution and a fully
optimized production mold. It can support pilot sales, regulatory testing,
early customer shipments, or controlled market launches while the final
production tool is being completed. This route is useful when schedule pressure
is real, but final volume assumptions are not yet fully proven.
How to Choose the Right Tooling
Route
The right choice depends on four connected factors:
design maturity, required quantity, material and quality requirements, and the
cost of delay.
If dimensions, aesthetics, and
assembly details remain uncertain, prototype tooling is usually the safer
decision. If the product has passed validation, demand is credible, and part
performance depends on consistent molding conditions, production tooling
becomes the better commercial choice.
Material requirements can
change the answer. A cosmetic consumer enclosure may need production resin
samples early because gloss, texture, color matching, and weld lines affect
approval. A structural component may need its final glass-filled resin to
confirm strength and warpage. In these cases, prototype injection tooling can
be more valuable than lower-cost printed parts.
Quantity should be treated as
a range rather than a single forecast. Consider the first build, anticipated
reorder volume, and the likely duration of the product lifecycle. A tool that
is adequate for a 2,000-unit launch may not be appropriate for a program that
could reach 100,000 units within a year.
Plan Tooling as Part of the
Manufacturing System
Tooling decisions should include the full production
workflow. The molded or machined component must still be inspected, finished,
sourced with related components, assembled, tested, and packaged. A part that
is easy to mold but difficult to handle or inspect can create downstream cost.
Early communication between
product engineering, procurement, and the manufacturing team helps identify
these issues before they become tooling changes. Critical-to-quality dimensions
should be defined clearly. Cosmetic acceptance criteria should be agreed upon.
Assembly interfaces, packaging constraints, and test fixtures should be
considered alongside the mold design.
Xiamen Creator Technology
supports this progression from early prototypes through tooling, production,
assembly, and packaging, allowing manufacturing feedback to carry forward
rather than being lost between separate suppliers. For complex product
programs, that continuity can reduce handoffs and make engineering changes
easier to control.
The practical question is not
whether prototype tooling or production tooling is better. It is whether the
tool matches the evidence available today. Build enough capability to validate
the next decision, then invest in long-term production capacity when the
design, quality requirements, and market demand justify it.