A guide to product cost estimation for teams planning prototypes, tooling, materials, assembly, quality control, and scalable production with confidence.

A purchase price that looks
reasonable at prototype stage can become unworkable once tooling, yield loss,
secondary operations, packaging, and freight enter the calculation. A
reliable guide to product cost estimation gives product teams
a way to test commercial feasibility before design decisions become expensive
to reverse.
For custom products, cost is
not one number produced by a supplier at the end of development. It is a
working model that should evolve with the CAD, bill of materials, production
volume, quality requirements, and packaging plan. The goal is not to predict
every cent before the first sample. The goal is to identify the major cost
drivers early enough to make informed engineering and sourcing decisions.
Start With the Required Cost Level
Before requesting quotations, define the commercial
target. A product team should know its target landed cost, expected annual
volume, planned sales channel, and margin requirement. Without those inputs, an
estimate may be technically accurate but commercially irrelevant.
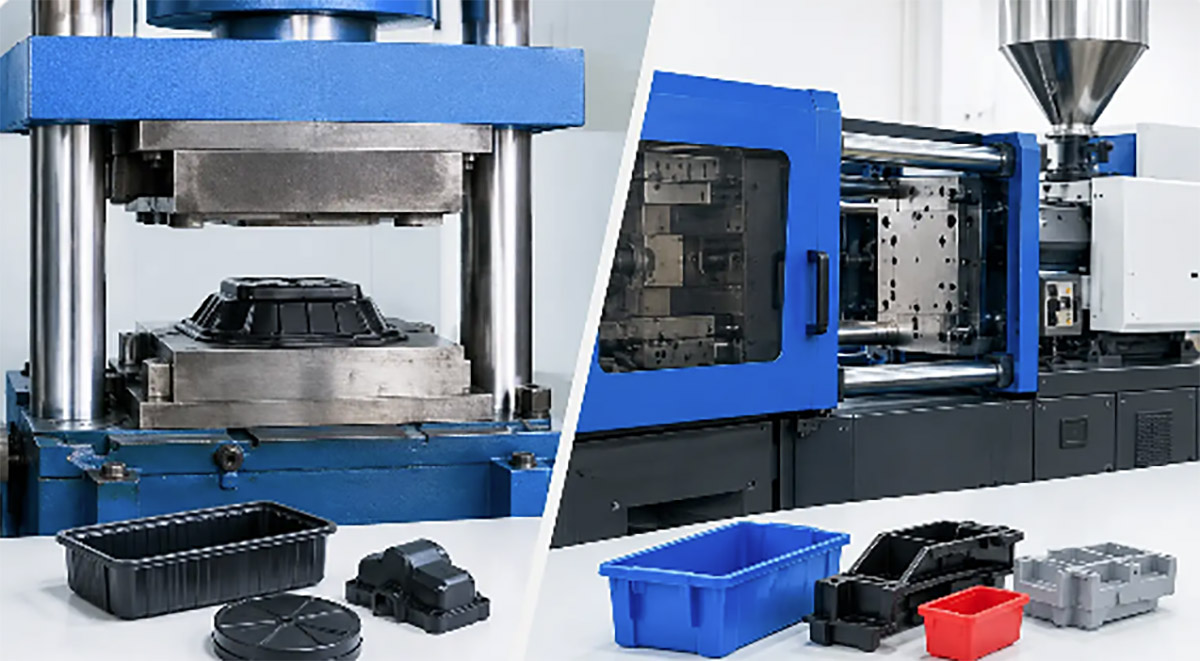
For example, a consumer
product designed for a pilot run of 500 units may support CNC-machined housings
or silicone tooling. The same product at 100,000 units may require hardened
injection molds, automated assembly fixtures, and a redesigned part structure.
Neither approach is automatically better. The correct process depends on
volume, timeline, investment capacity, cosmetic requirements, and the expected
life of the product.
A practical cost target also
separates one-time expenses from recurring unit costs. Tooling is paid once or
amortized across a production forecast. Materials, molding cycles, assembly
labor, inspection, packaging, and logistics recur with each unit. Mixing these
categories can make a low-volume quote look artificially expensive or a
high-volume quote look deceptively low.
Guide to Product Cost Estimation:
Build the Cost Structure
A useful estimate begins with a complete production
map. Follow the product from raw material to packed finished unit, including
outsourced processes and purchased components. If a step is not shown in the
map, it is easy to miss in the budget.
Direct materials and purchased
components
Material cost includes more than resin, aluminum,
steel, silicone, or sheet metal. It also includes inserts, fasteners, coatings,
adhesives, electronic components, cables, labels, and any custom packaging
materials. For molded parts, resin selection affects both piece cost and
processing behavior. A standard ABS grade may be economical, while
flame-retardant, UV-stable, food-contact, or glass-filled grades can raise
material and molding costs.
Component sourcing requires
the same level of control. A low-cost connector or switch may create supply
risk, inconsistent quality, or a redesign when its supplier changes the
specification. Estimate with approved alternatives where possible, especially
for electronics and commodity hardware.
Material yield matters as
well. CNC machining creates chips, stamping creates scrap, and die casting may
require runners and trimming. These losses are part of the finished-part cost.
A quote based only on net part weight will not reflect actual production
consumption.
Tooling, fixtures, and
non-recurring engineering
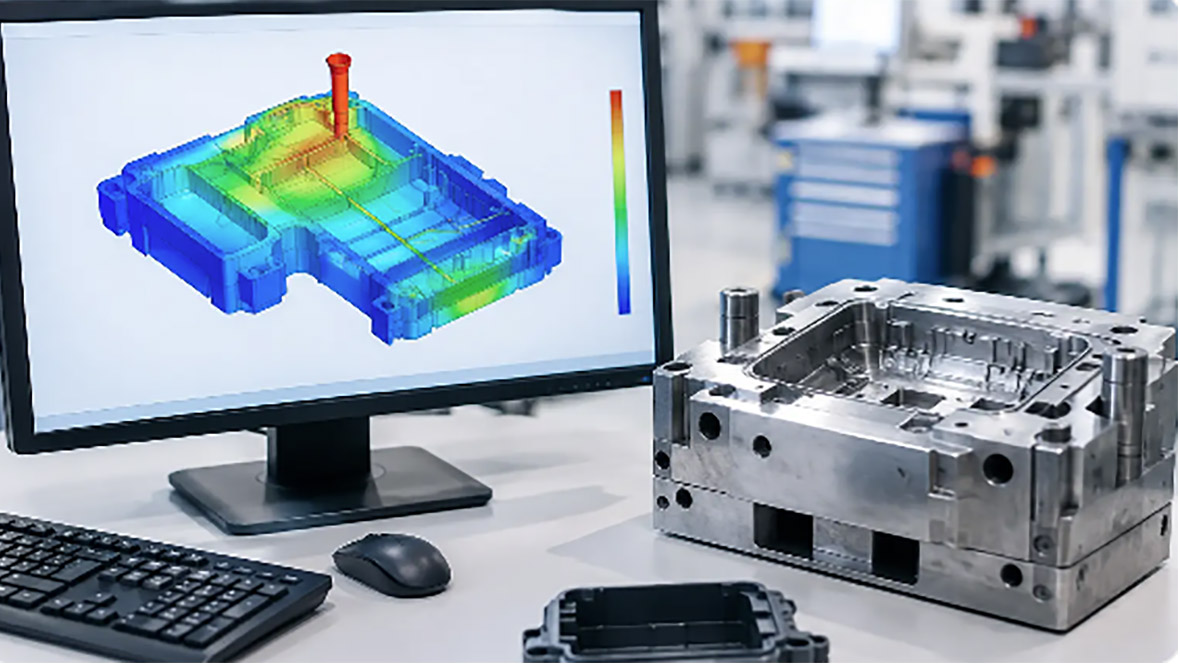
Non-recurring engineering costs include mold design,
mold fabrication, prototype setup, programming, test fixtures, assembly
fixtures, gauges, and engineering changes. These charges should be identified
separately rather than buried in the unit price.
Injection molding usually has
the highest upfront tooling commitment, but it can deliver a lower part cost at
scale. Tool complexity is driven by part size, cavity count, undercuts, slides,
lifters, texture, tolerance requirements, and expected production life. A
simple two-plate mold for a low-volume product is not comparable to a
multi-cavity production mold with automated part ejection.
The same principle applies to
metal parts. A CNC prototype may require little upfront investment but
substantial machine time per unit. Stamping or die casting can reduce recurring
cost at higher volume, while introducing die expense and longer development
lead times. Cost estimation should compare the total program cost at realistic volume
scenarios, not just the initial quote.
Conversion cost and cycle time
Conversion cost is the cost of turning material into a
usable part. It includes machine time, operator labor, setup, energy,
consumables, maintenance allocation, and process-specific finishing.
For injection molding, cycle
time is a primary driver. Wall thickness, cooling efficiency, resin type, mold
design, and part geometry all affect how many parts can be produced per hour. A
small design change that improves cooling or removes a complex side action can
have a meaningful effect on production cost.
For CNC machining, estimate the
number of setups, tool changes, machining time, inspection requirements, and
finishing operations. Tight tolerances should only be specified where they are
functionally necessary. Applying precision tolerances across an entire drawing
increases machining time, inspection effort, and rejection risk without
necessarily improving product performance.
Secondary operations and assembly
Many estimates fail because the molded or machined
part price is treated as the product price. Finished products often require
painting, plating, laser marking, printing, ultrasonic welding, overmolding,
tapping, heat staking, polishing, cleaning, and final inspection. Each
operation adds cost, handling time, and another opportunity for variation.
Assembly estimates should account
for labor content, takt time, fixture requirements, error-proofing, testing,
and rework. A design with ten screws may be inexpensive in material terms but
costly to assemble. Reducing fastener count, using self-locating features,
standardizing screw types, or improving access for drivers can lower labor cost
and improve consistency.
Use Volume Breaks Instead of One
Unit Price
A credible estimate should show pricing at several
quantities, such as prototype, pilot, initial production, and annual production
volume. This makes the trade-offs visible.
Low-volume pricing often
includes more setup cost per unit, lower material purchasing leverage, and
manual operations. At higher volumes, manufacturers can use multi-cavity tools,
batch finishing, dedicated fixtures, automation, and scheduled component
purchasing. However, volume alone does not guarantee a lower cost. If the
forecast is uncertain, investing heavily in tooling or inventory can create
financial exposure.
Ask for the assumptions behind
each volume break. Is the estimate based on a single-cavity or multi-cavity
mold? Does it assume manual assembly or a fixture-assisted process? Are
components purchased in production lots, and what lead times apply? These
details are more useful than a single headline number.
Include Quality, Scrap, and Risk in
the Estimate
Quality requirements are
production requirements. If a product needs dimensional reports, first article inspection, cosmetic standards,
functional testing, traceability, or lot-based records, those controls need
time and equipment. They should be included in the cost model from the
beginning.
Yield is equally important. A
process with a 98% yield behaves differently from one with a 90% yield,
particularly when expensive purchased components are installed before final
testing. Engineers should identify where defects are most likely to occur and
place inspections before high-value assembly steps when practical.
Common risk allowances may
include resin price changes, exchange-rate exposure, component shortages,
tooling maintenance, packaging revisions, and freight volatility. Not every
project needs a large contingency, but pretending these factors do not exist
creates a fragile budget. The appropriate allowance depends on product
complexity, supplier maturity, forecast stability, and lead-time sensitivity.
Improve the Design Before
Negotiating the Quote
The largest savings usually
come from design and process choices, not from repeated price pressure after
the design is frozen. Design for manufacturability and design for assembly
reviews should happen before tooling release, when geometry can still be
adjusted at low cost.
Focus on the features that
create disproportionate expense: undercuts, unnecessarily tight tolerances,
deep ribs, uneven wall sections, cosmetic surfaces in hard-to-mold areas,
unusual fasteners, custom finishes, and difficult assembly access. Removing one
secondary operation may be more valuable than reducing the raw material cost by
a few cents.
It is also useful to compare
alternative manufacturing routes. A part may be suitable for CNC machining
during validation, silicone tooling for market testing, and injection molding
for scale. A coordinated manufacturing partner can assess these transitions
while keeping drawings, material intent, quality criteria, and assembly
requirements aligned.
Make the Estimate a Controlled
Document
A cost estimate should have a revision number, date,
annual volume assumption, material specification, process route, currency,
Incoterms if applicable, and stated exclusions. When a design changes, update
the estimate with the changed assumptions. This prevents teams from comparing
an old cost model with a new product configuration.
For complex builds, maintain a
simple should-cost model alongside supplier quotations. It does not need to
duplicate a factory's internal costing system. Its purpose is to verify that
the bill of materials, tooling investment, process steps, and quality
requirements have all been considered. This gives engineering, procurement, and
finance a common basis for decisions.
The best cost estimate is not
the lowest early number. It is the estimate that remains credible when the
product moves from sample approval to repeatable production, because the
process behind the number has been examined as carefully as the product itself.